How to Build an AI Manga Translator with OCR Capabilities in 2024
- 2024-04-03
To complete our series of AI-based tutorials, we will teach you how to build an AI manga translator that uses OCR technology to translate the manga, manhua, and comics of your choice.
You should check the previous AI Translator tutorial if you haven’t already. You can combine both tools into one super tool for all your translation needs.
Before jumping into the tutorial, let’s define a few things first. But if you’d rather skip this step, you can jump straight into the code.
What is an OCR?
OCR is an acronym that stands for Optical Character Recognition. It is the electronic conversion of images of typed, handwritten, or printed text into machine-encoded text. The OCR we have in mind is dedicated to recognizing characters printed into a comic book, a manhua, or a manga (and other similar genres).
In simple terms, an OCR identifies text in images and makes them editable on a computer. So, what’s with the “AI” at the beginning? Well, that’s about the “how.”
What’s the difference between OCR and AI?
Traditional OCR web applications did not leverage AI technology. At least most of them didn’t. And you’d be amazed at how many modern companies still rely on old-school OCR tools. The traditional OCR process involves the following, primarily done manually:
- Scanning or capturing an image of the text.
- Preprocessing to improve image quality.
- Segmenting text into individual characters.
- Matching segmented characters to the library of templates.
- Contextual analysis to correct errors.
Sometimes, practitioners rely on statistical methods to help speed things up.
But, the purpose of OCR at its core is pattern recognition. And that’s what AI excels in. The combination of the two was almost an inevitable step in the development of OCR.
Let’s look at how our AI manga translator works.
1. The UI of your AI Manga Translator
The UI of our AI-based OCR will be an adaptation of the UI of our AI translator. If you haven’t already, we’d encourage you to try that tutorial. Otherwise, you can fork our repository and start with a pre-built UI.
If you prefer getting your hands dirty and building everything yourself, read on!
The steps
npm install @microsoft/fetch-event-source
Import fetchEventSource in your Home component.
import { fetchEventSource } from '@microsoft/fetch-event-source';
Home component.
					  const [comicPreview, setComicPreview] = useState(null);
  const [loading, setLoading] = useState(false);
sendImage() function to your Home component.
					//  app/page.js
  const sendImage = async (imageFile) => {
    setLoading(true)
    try {
      const formData = new FormData();
      formData.append("file", imageFile);

      await fetchEventSource("http://127.0.0.1:8000/api/ocr", {
        method: "POST",
        body:formData,
        headers: {
          "Accept": "text/event-stream",
        },
        onopen(res) {
          if (res.ok && res.status === 200) {
            console.log("Connection made ", res);
          } else if (
            res.status >= 400 &&
            res.status < 500 &&
            res.status !== 429
          ) {
            console.log("Client side error ", res);
          }
        },
        onmessage(event) {
          const parsedData = JSON.parse(event.data);
          setFileData((data) => [...data, parsedData]);
        },
        onclose() {
          setLoading(false)
          console.log("Connection closed by the server");
        },
        onerror(error) {
          setLoading(false)
                toast({
                    title: error.message,
                    duration: 5000,
                    status: "warning",
                    description: "",
                      });
        },
      });

    } catch (error) {
      setLoading(false)
      console.error("Error sending image:", error);

      toast({
        title: error.message,
        duration: 5000,
        status: "warning",
        description: "",
      });
    }
  };
Home component to handle drag & drop of the manga page. You may modify the one used in our previous article.
					  // app/page.js

  const handleFileDrop = async (event) => {
    try {
      event.preventDefault();
      const file = event.dataTransfer.files[0];
      const imageUrl = URL.createObjectURL(file);

      setComic(imageUrl);
      await sendImage(file)
        .catch((err) => console.log(err.message));
    } catch (error) {
      toast({
        title: error.message,
        duration: 5000,
        status: "warning",
        description: "",
      });
    }
  };
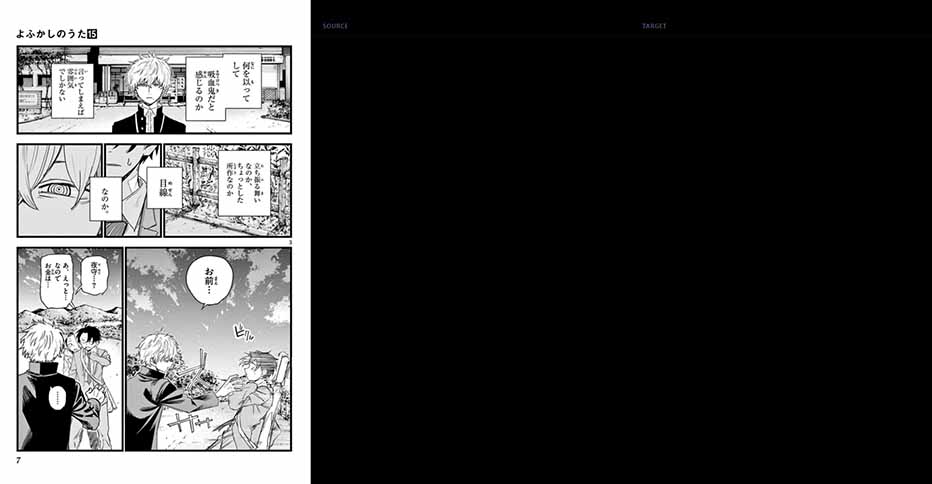
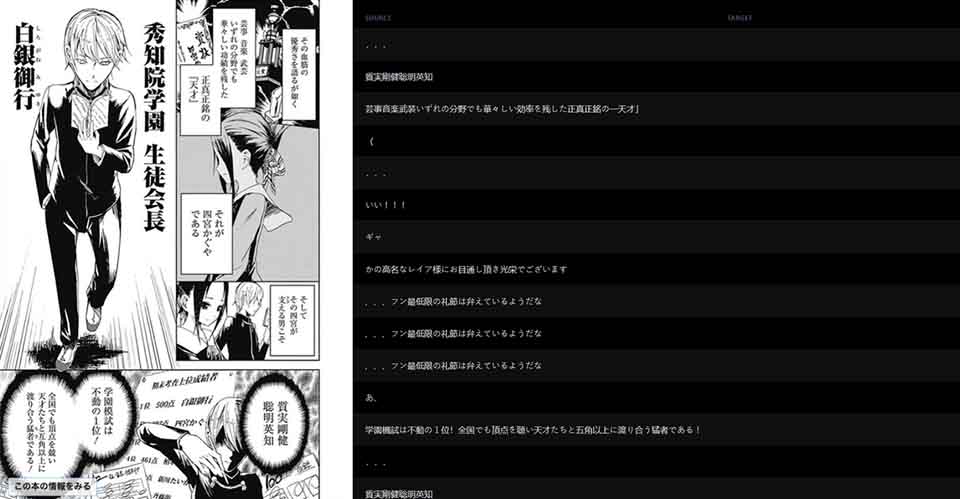
Home component like below. In the code below, we added an Image component to preview the comic page we just uploaded through the handleFileDrop() function and also tweaked the Layout.
					   <Flex
   overflowY={"hidden"} position={"relative"} justifyContent={"center"} bg={"black.400"}
    h={"100%"}
    w={"100%"}
      color={"#D1D5DB"}
      onDrop={handleFileDrop}
      onDragOver={(event) => {
        event.preventDefault();
        event.target.style.backgroundColor = "#ffffff20";
      }}
    >
      <Box  h={"100vh"} width={"100%"}>
        {!comicPreview ? (
          <DragFile />
        ) : (
          <Flex h={"100vh"}>
            {comicPreview && (
              <>
                <Image h={"auto"} w={"auto"} maxW={'50%'} src={comicPreview} alt="preview" />
              </>
            )}
            <TableContainer overflowY={"scroll"}  width={"70%"}>
            <Table colorScheme={"whiteAlpha"} mt={"2%"} variant="striped">
              <Thead>
                <Tr>
                  <Th>Source</Th>
                  <Th>Target</Th>
                </Tr>
              </Thead>
              <Tbody w={50}>
                {fileData.map((each, i) => {
                  return (
                    each?.source && (
                      <TextBox
                        index={i}
                        source={each?.source}
                        target={each?.target}
                        key={i}
                      />
                    )
                  );
                })}
              </Tbody>
            </Table>
            </TableContainer>
          </Flex>
        )}
      </Box>
    </Flex>
npm run dev
2. Building the OCR of your AI manga translator.
Installing dependencies
pip3 install manga-ocr fastapi uvicorn sse-starlette
Importing dependencies
					# server/ocr.py
from fastapi import FastAPI, File, UploadFile, Request
from fastapi.responses import JSONResponse
from fastapi.middleware.cors import CORSMiddleware
import cv2
import os
from uuid import uuid4
from PIL import Image
from manga_ocr import MangaOcr
from sse_starlette.sse import EventSourceResponse
import json
EventSourceResponse is a function from the sse_starlette library that converts Python generator objects into SSE signals. We will revisit that later.
					# server/ocr.py
app = FastAPI()
mocr = MangaOcr()
UPLOAD_DIR = "uploads"

# Define CORS settings
origins = [
    "http://localhost",      # Allow requests from localhost
    "http://localhost:3000", # Allow requests from a specific port
]

app.add_middleware(
    CORSMiddleware,
    allow_origins=origins,
    allow_credentials=True,
    allow_methods=["*"],  # Allow all HTTP methods
    allow_headers=["*"],  # Allow all headers
)
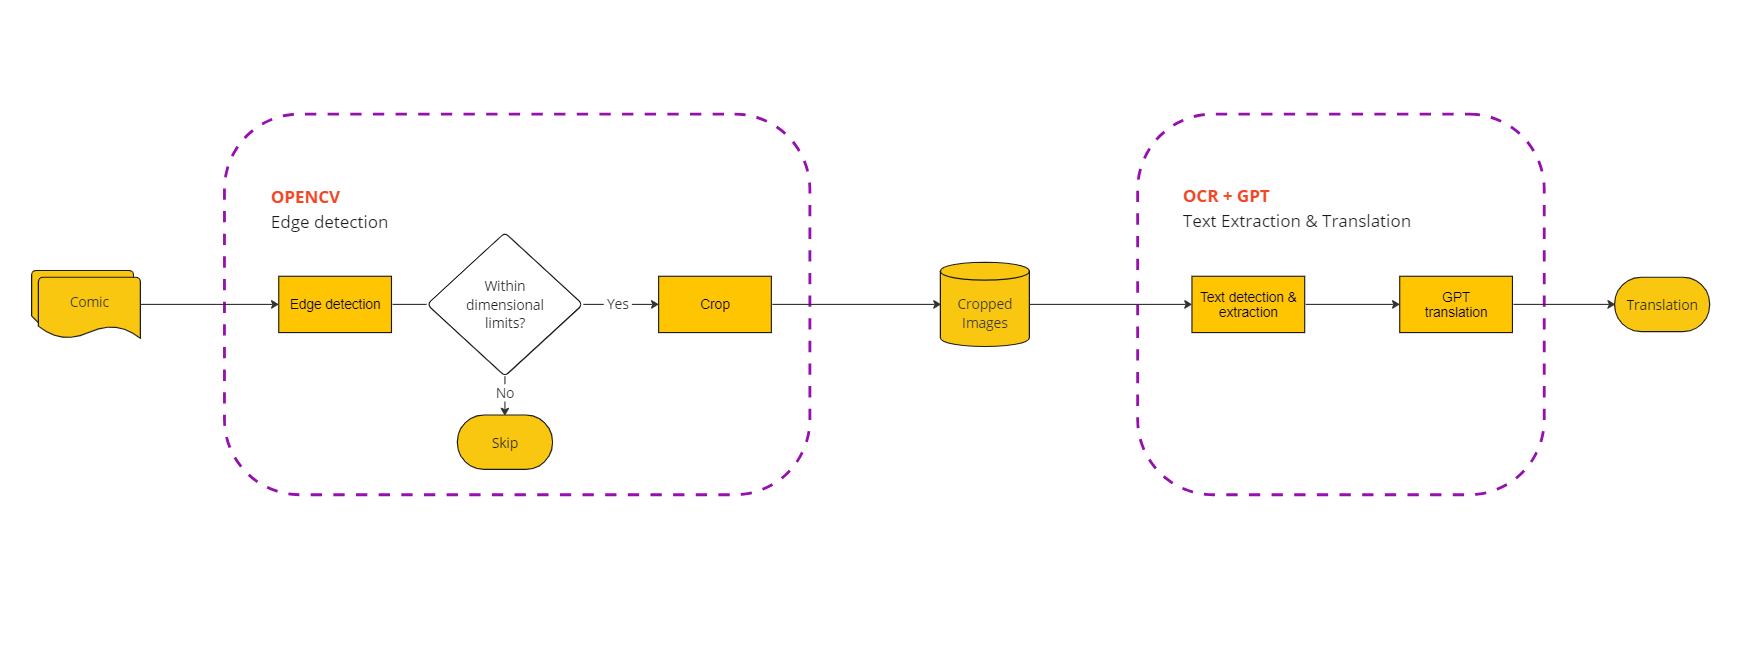
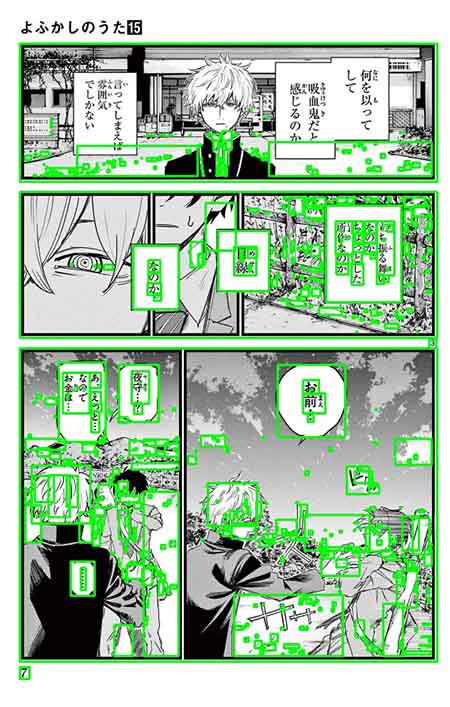
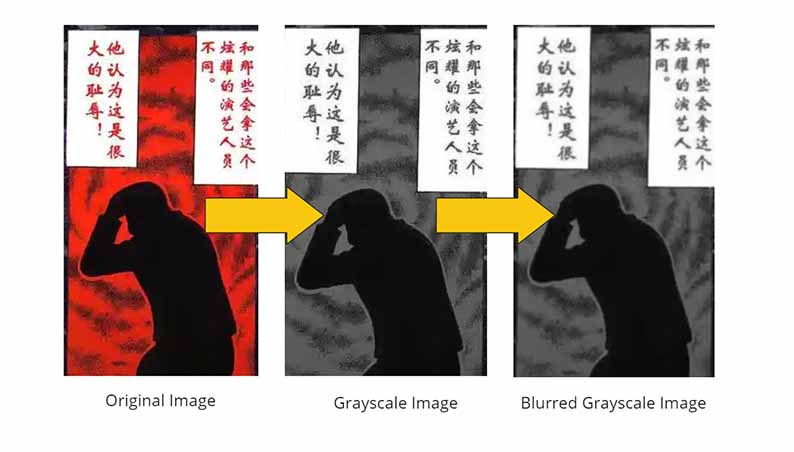
Detecting speech bubbles
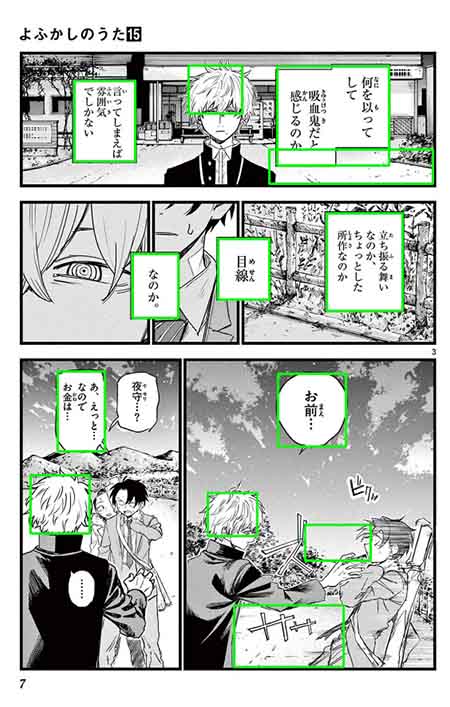
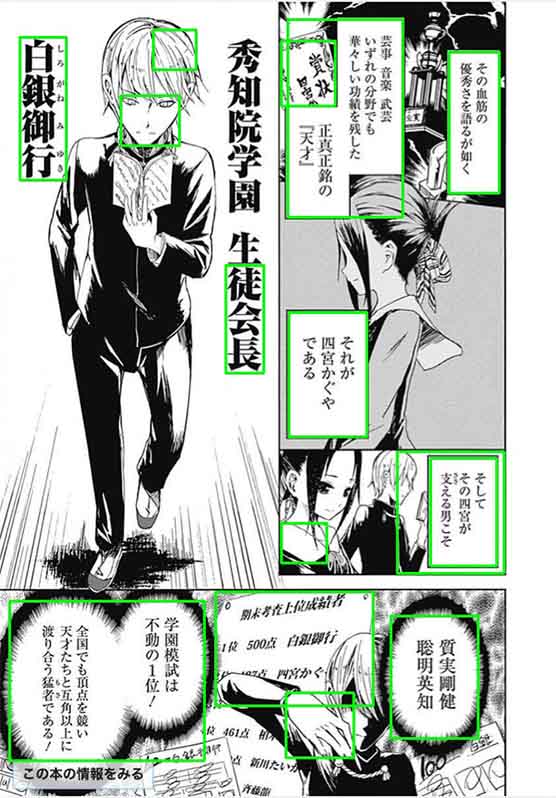
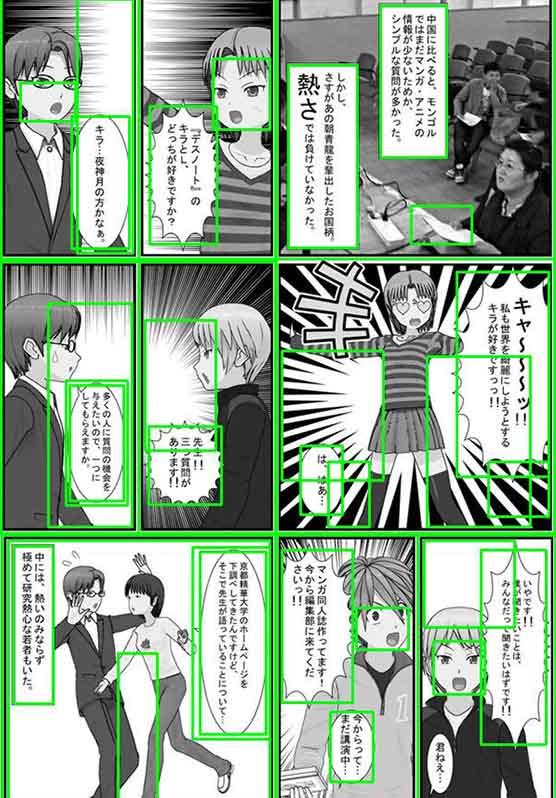
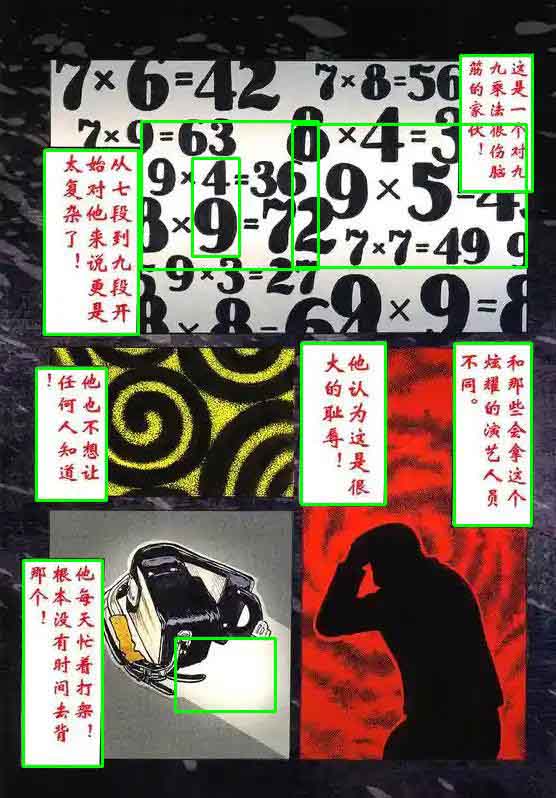
findContours() function from cv2boundingRect()), which would then become the speech bubble candidates. As seen below, findContours() picks up a lot of noise that is not speech bubbles.
					# server/ocr.py
# find all speech bubbles in the given comic page and return a list of cropped speech bubbles (with possible false positives)
def findSpeechBubbles(imagePath, method):

    # read image
    image = cv2.imread(imagePath)
    # gray scale
    imageGray = cv2.cvtColor(image, cv2.COLOR_BGR2GRAY)
    # filter noise
    imageGrayBlur = cv2.GaussianBlur(imageGray, (3, 3), 0)
    if method != 'simple':
        # recognizes more complex bubble shapes
        imageGrayBlurCanny = cv2.Canny(imageGrayBlur, 50, 500)
        binary = cv2.threshold(imageGrayBlurCanny, 235,
                               255, cv2.THRESH_BINARY)[1]
    else:
        # recognizes only rectangular bubbles
        binary = cv2.threshold(imageGrayBlur, 235, 255, cv2.THRESH_BINARY)[1]

    # find contours
    contours = cv2.findContours(
        binary, cv2.RETR_TREE, cv2.CHAIN_APPROX_SIMPLE)[0]

    # get the list of cropped speech bubbles

    croppedImageList = []
    i = 0
    for contour in contours:

        contour = contour.astype(np.int32)
        rect = cv2.boundingRect(contour)
        [x, y, w, h] = rect

        # filter out speech bubble candidates with unreasonable size
        if w < 500 and w > 40 and h < 500 and h > 40:
            cv2.rectangle(image, (x, y), (x + w, y + h), (0, 255, 0), 2)
            croppedImage = image[y:y+h, x:x+w]
            croppedImageList.append(croppedImage)
            cv2.imwrite(UPLOAD_DIR+"/"+'cropped/'+ str(i)+".jpg", croppedImage)
            i += 1

    return croppedImageList

OCR API endpoint
Now, we need to create an endpoint that will handle the OCR part of the application for manga comics. Before we install the endpoint, since the OCR function is looped through the cropped images, the loading time to get all the texts is much longer. To solve this problem, we will “stream” back the output of each result to the frontend client.
Let’s define a generator function that takes in a request object which will be used to detect if a particular client is disconnected.
					# server/ocr.py
async def text_generator(request):
    i = 1
    image_list = os.listdir(os.path.join(UPLOAD_DIR,'cropped'))
    for img in image_list:
        if await request.is_disconnected():
            print("client disconnected!!!")
            break
        if i <= len(image_list):
            text = mocr(os.path.join(UPLOAD_DIR,'cropped',img))
            print(text)
            i+=1
            yield json.dumps({"id": i,"source":text})
        else:
            print("OCR complete!")
            break
The function basically loops through the cropped images directory and feeds each image to Manga OCR which yields the output.
Back to the API endpoint, we rename the filename using uuid4 and uploads and cropped directory are created. The findSpeechBubbles() function is called with the filepath of the uploaded image as the argument and saves the speech bubbles.
An instance of text_generator() is created and is returned as an EventSourceResponse. An EventSourceResponse is starlette’s representation of a server-sent event.
					# server/ocr.py

@app.post("/api/ocr")
async def upload_file(request: Request,file: UploadFile = File(...)):
    try:
        if not os.path.exists(UPLOAD_DIR):
            os.makedirs(os.path.join(UPLOAD_DIR,"cropped"))

        file_extension = file.filename.split(".")[-1]
        new_filename = f"{uuid4()}.{file_extension}"
        file_path = os.path.join(UPLOAD_DIR, new_filename)

        with open(file_path, "wb") as f:
            f.write(file.file.read())

        try:
            findSpeechBubbles(file_path,"simple")
        except Exception as e:
            print(e)
            return JSONResponse(content={"error": "An error occurred" }, status_code=500)

        try:
            event_generator =  text_generator(request)
            return EventSourceResponse(event_generator)
        except Exception as e:
            print(e)
            return JSONResponse(content={"error": "An error occurred"}, status_code=500)

    except Exception as e:
        print(e)

    return JSONResponse(content={"error": "An error occurred while uploading the file"}, status_code=500)
					cd server
uvicorn ocr:app --reload
Voila! It’s done. Well, almost. The part we get your AI manga translator to do the entire translation automatically comes next. Coming soon!